

No matter where you live, heat and air conditioning are essential. If you are considering an HVAC installation for the first time in your home, or if you are replacing an older system, it can be helpful to know what to expect from the process. Take a closer look at what installing an HVAC system typically involves.
Pre-Installation
The first step is reaching out to a reputable HVAC installation company. Whether you’re replacing an existing system or installing a new one, your technician will want to start with a thorough inspection.
Once the HVAC installers understand the scope of the job and you’ve agreed on what type of AC unit, heat pump, ductless mini split, furnace, or other equipment you need, the installer can generate a quote and estimate how long the job will take.
Preparing Your Home
Before the installation company removes your old HVAC system or installs the new one, you need to create a work-friendly environment. This means ensuring children and pets stay with family or friends, covering furniture with drop cloths, and removing any valuable or breakable items from any potential work areas.
When it’s time for the installation, make sure to communicate with the team about where they’ll be working. You might need to make last-minute adjustments with the drop cloths or where you store your valuables
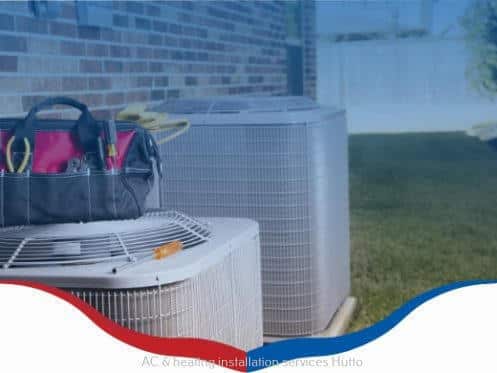
3 Key Steps to Installing HVAC Systems
Once installation begins, the process typically involves three important steps.
Step 1: Removing the Old System
If the installers are removing an old system, they will have to remove its refrigerant, which can be highly toxic. After the refrigerant is removed, the installers may disconnect the wiring. Then, the team may remove the indoor evaporator coil and the copper line set.
Step 2: Installing the New System
If you have existing ductwork, this part of the process may take less than a single workday. If the workers find any leaks or damage in existing ducts, those issues will need to be taken care of first.
New ductwork can require cutting through drywall, studs, ceilings, and floors to run it throughout your house. Once the ducts are in place, the crew can connect the HVAC system. This includes the air handler, refrigerant lines, condensate lines, and electrical wiring.
If the AC unit sits outdoors, they may have to pour a concrete slab prior to installation. After every piece is connected, the installers can fill the refrigerant lines.
Step 3: Testing the System
Finally, the installers will test the system to see that it heats and cools properly. If there are any issues, they can address them at this stage.
Turn to Bee Cool Texas Heating & Air for Professional HVAC Installation
An HVAC installation can go a long way in keeping your family comfortable all year long. For this crucial job, turn to the experts at Bee Cool Texas Heating & Air. Our trained and experienced technicians can ensure your installation is as seamless and efficient as possible.
Ready for your new HVAC system? Contact Bee Cool Texas Heating & Air today.